
Bone Broth 6 Important Benefits To Health + Key DIY Recipe
Here's how to freeze bone broth in glass jars: Wait until the broth has cooled to at least room temperature. Pour the cooled broth into the jar, and leave 1 full inch of head space (space from the top of the broth to the top of the jar). Screw the lid on the jar. Set the jar upright in the freezer — not laying on its side.

Pin by BONED® Broth on Boned Broth Bone broth, Gut health, Gut healing
Keep them upright and flat until the cubes are frozen. Bag Up: When the cubes have frozen fully, you can remove the trays from the freezer. Transfer the bone broth cubes into a freezer bag from the ice cube trays. Freeze: Label the bag with the contents and the date. Seal the bag tightly and pop it into the freezer.

How to Make Bone Broth Tutorials Upcycled Adulting
Place broth in a saucepan (or Dutch oven if it is a large-sized bag) with a tablespoon of water. Set heat to medium high. The broth should be thawed and warm in minutes. You could also choose to microwave the broth in a microwave-safe dish. To expedite thawing, allow the broth to thaw overnight in the refrigerator.

Roasting beef bones for bone broth....okay from frozen and then
Conclusion. Bone broth is a nutritious and versatile ingredient that can be enjoyed in various recipes or as a nourishing beverage. It can be frozen for up to 6 months, but for the best quality, it is recommended to consume it within 3-4 months. Proper storage and thawing methods are essential to maintain the freshness and safety of bone broth.
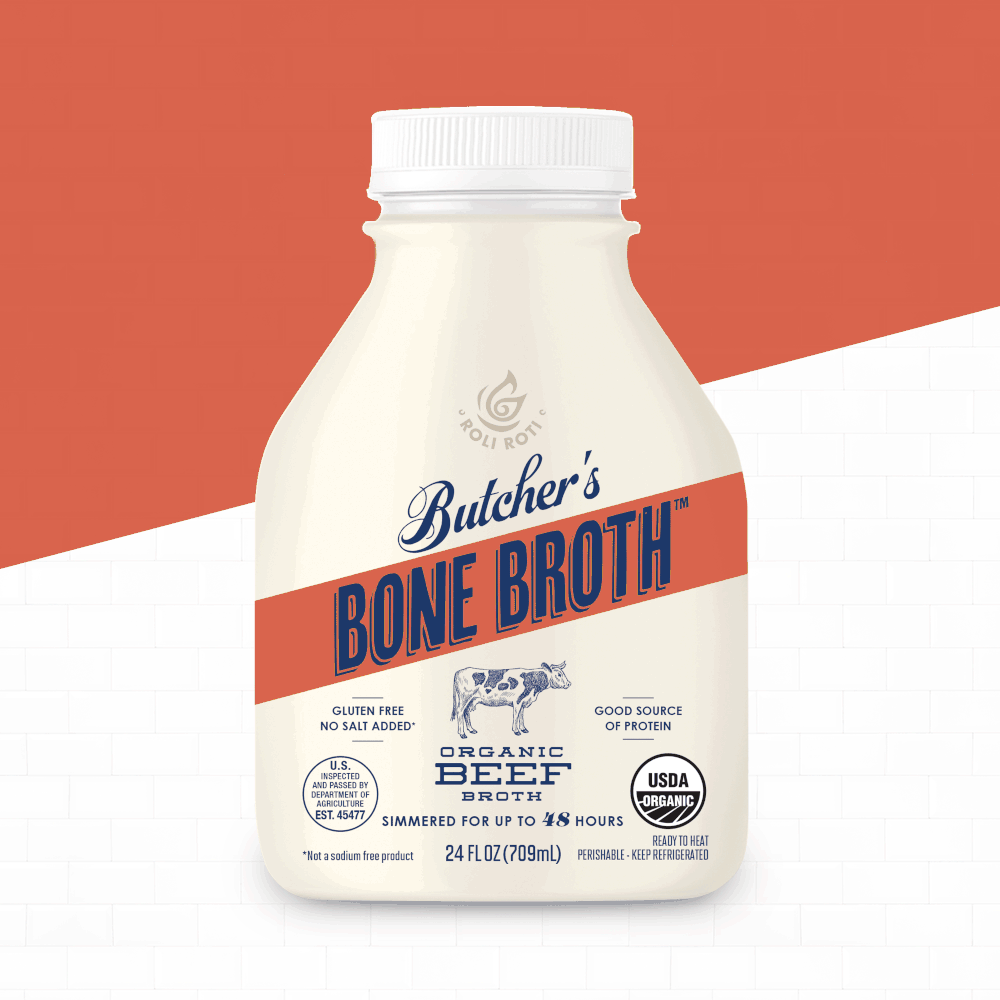
Butcher's Bone Broth Has a Fresh Streamlined Look — The Dieline
Pour the cooled broth into freezer-safe containers or ice cube trays, leaving some headspace to allow for expansion when the liquid freezes. Always maintain your freezer at 0°F (-18°C) or below. This temperature is optimal for freezing food and ensures your broth stays safe and retains its quality.
Bone Broth Basics Our Homestead Adventures
How to Freeze. Allow bone broth to cool - allow your bone broth to cool to room temperature before pouring and placing it in your freezer. Pour and fill - pour the bone broth into the trays, filling each section approximately ¾ full. Freeze - place your trays in the freezer and allow to freeze completely (about 6 hours).

Art & Lemons — Letter No. 32 Bone broth recipe, Vegan bone broth
To freeze dry bone broth using your Harvest Right freeze dryer, here's what you need to do: Turn on the machine and press "START > LIQUID". Select "FROZEN" for frozen broth. Use "NOT FROZEN" for room-temperature liquid. Wait for the machine to pre-cool for 15-30 minutes or until it's colder than -8°F (-22 °C).
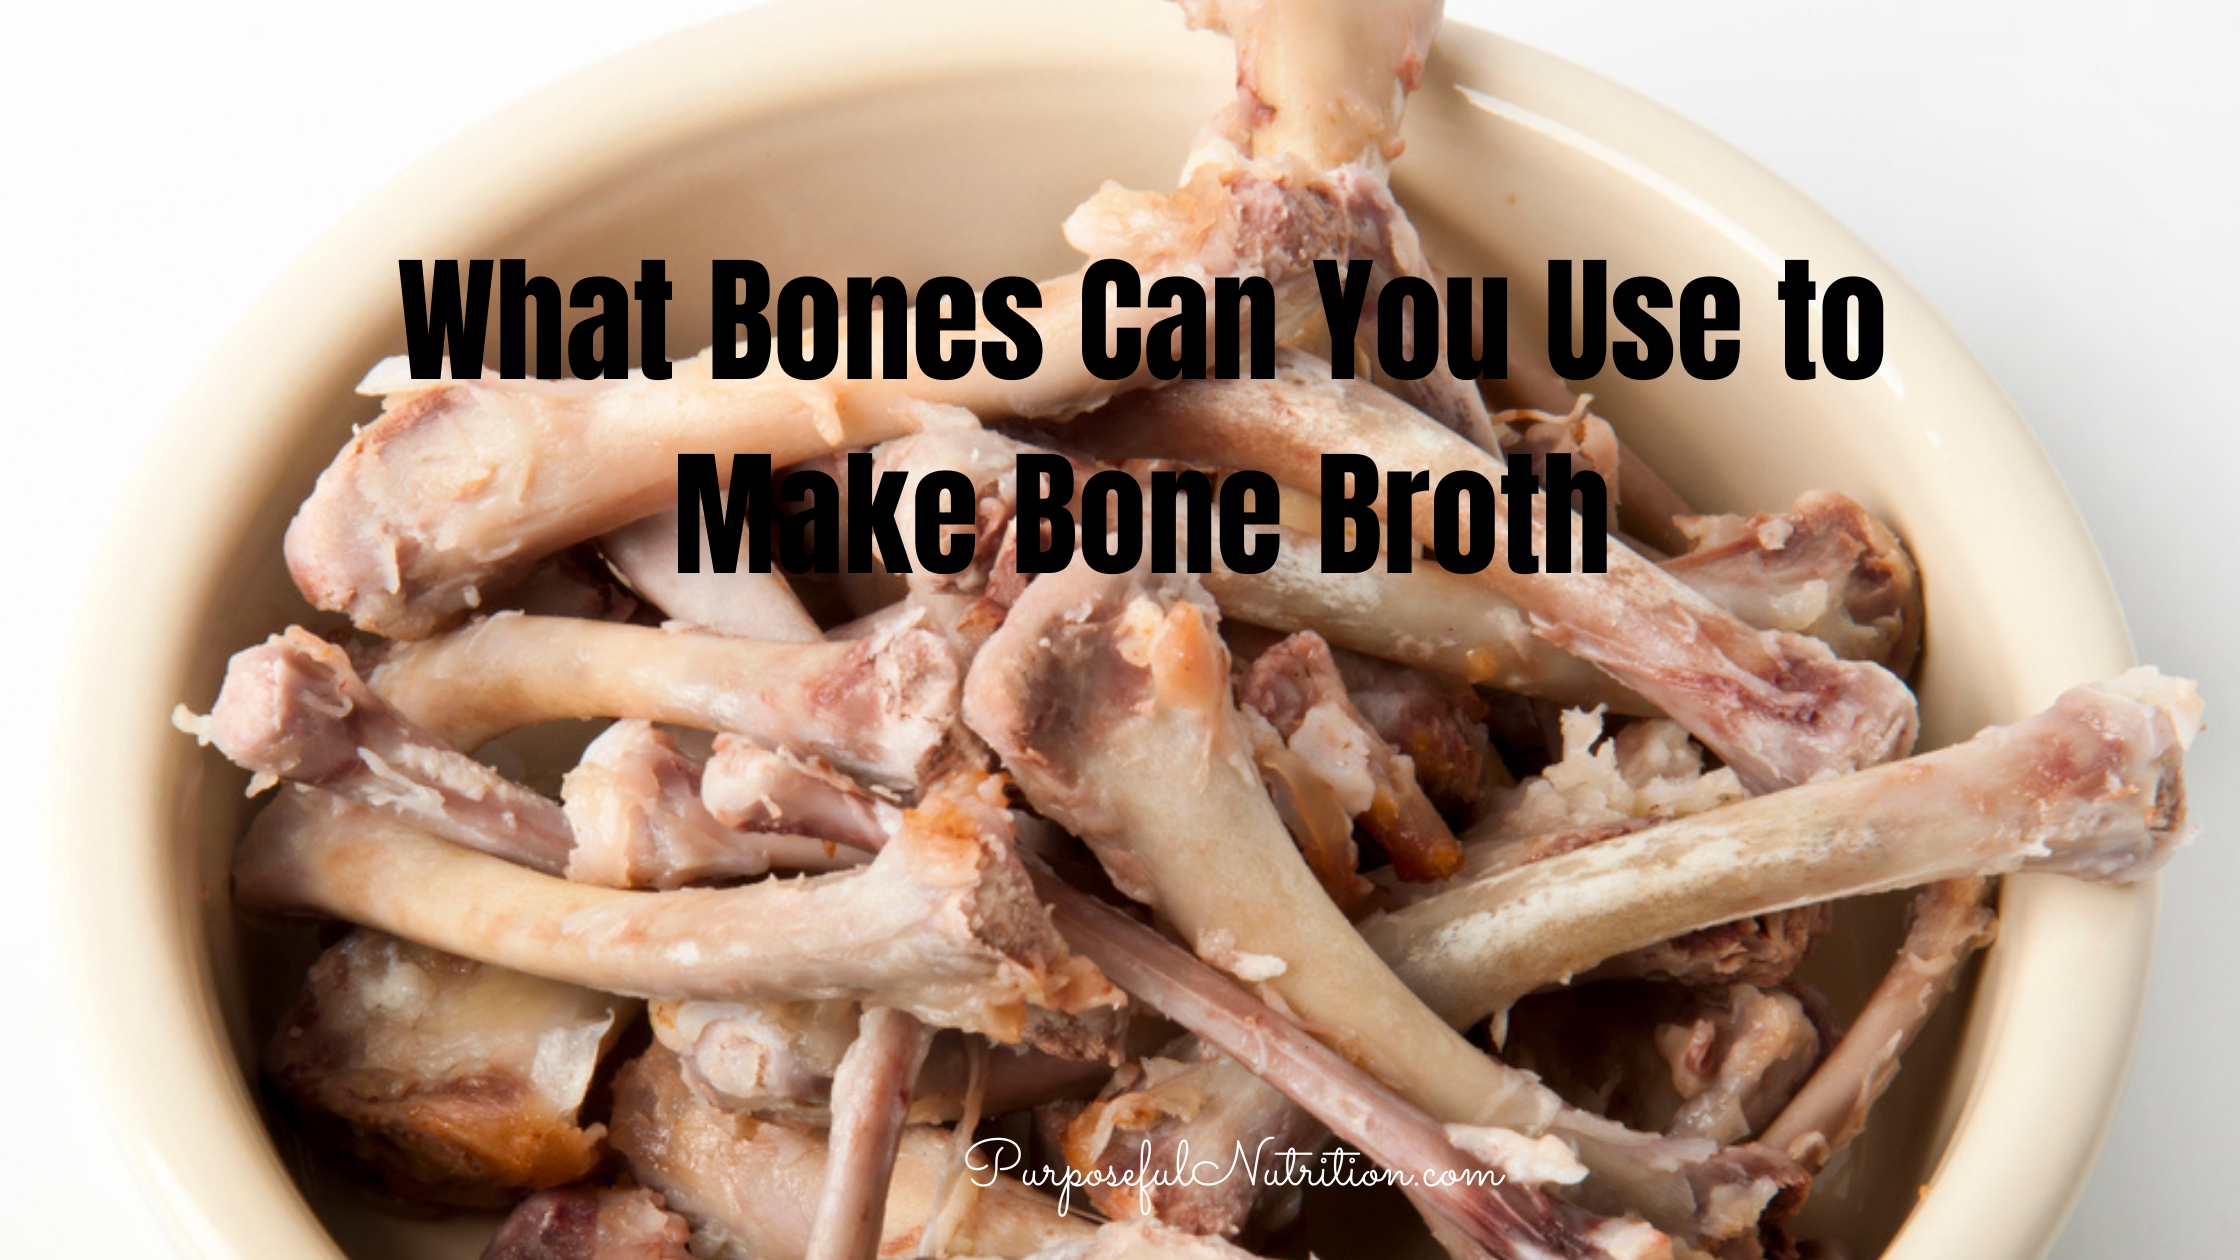
What Bones Can You Use To Make Bone Broth? Purposeful Nutrition
Spread the concentrated broth on a paraflexx sheets and set them in your dehydrator to dry until the broth loses its moisture and, instead, becomes brittle and glass-like. Break the dehydrated broth into shards, and drop them into a blender or food dehydrator, processing until they form a fine powder. Store the powder in a small jar, and stir.

17 Reasons Everyone Is Suddenly Drinking Bone Broth
3. Yes, you can. The advantage, as you point out, is that you can collect the bones until you have enough to make a flavorful stock. They freeze well, but will last even longer (avoiding freezer burn) if you can remove as much air as possible from the package. I often do with with chicken bones, necks, and skin until I accumulate a decent.

Bone Broth Stew Kimberton Whole Foods
Bone broth is slow-simmered for an extended period — sometimes up to 48 hours — to extract the most nutrients possible from the bones. The result is a rich, complex flavor profile that regular broth simply can't match. Plus, when you choose bone broth, you're getting a higher concentration of vital nutrients like collagen.

Just bone broth please Bone Broth, Bones, Inspirational Quotes, Math
In this post, we'll discuss the steps you can take to freeze bone broth properly, as well as some frequently asked questions about the process. Step 1: Cool the bone broth to room temperature. Step 2: Pour the broth into a freezer-safe container. Step 3: Leave some space at the top for expansion.

Have you had your bone broth today? Bone broth, Bone broth diet, Broth
It is safe to refreeze bone broth if you handled it well before refreezing. You can keep the refrozen bone broth in the freezer for almost 6 months. Since bone broth refreezes exceptionally well, it won't show a significant quality loss. But, constant refreezing might lead to a compromised taste and quality.

Beef Bone Broth — FiliWest Farms
But broth and the dishes that we use broth are made separate at different times. So we need to freeze both until the requirement comes. Planning is key for freezing broth. Once you have done that, you can defrost and use broth at any time you wish. Never try to refreeze broth, though. You can find a solution for that in the article.
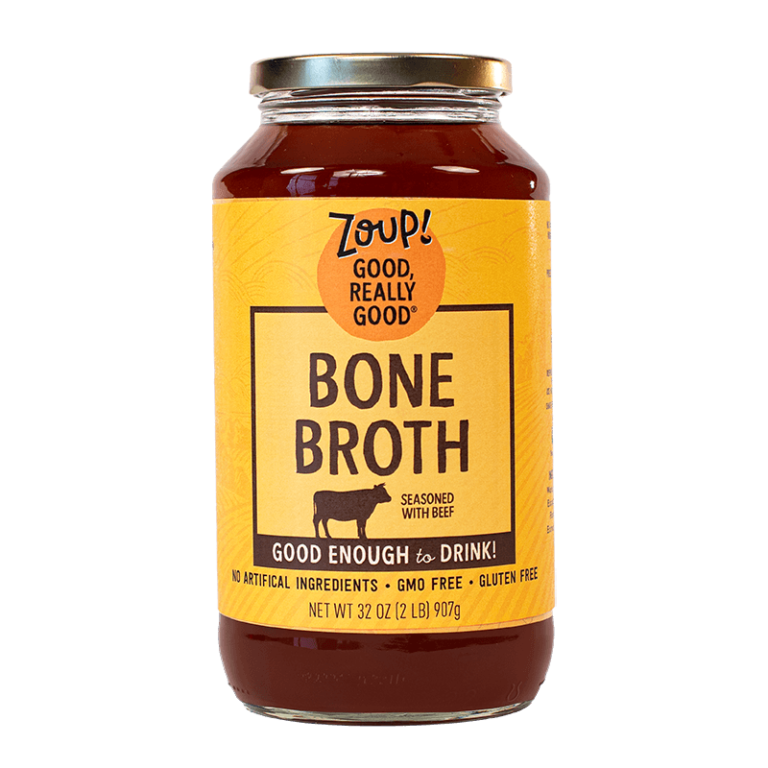
Beef Bone Broth Zoup! Good, Really Good
To do this, you should use a freezer bag or an ice cube tray. Be sure to leave some room at the top of the container, as the broth will expand as it freezes. Place the tray in the freezer for about one to two hours, until the bone broth is frozen. Once frozen, transfer it to a storage bag. Press it gently to remove excess air, seal and label.
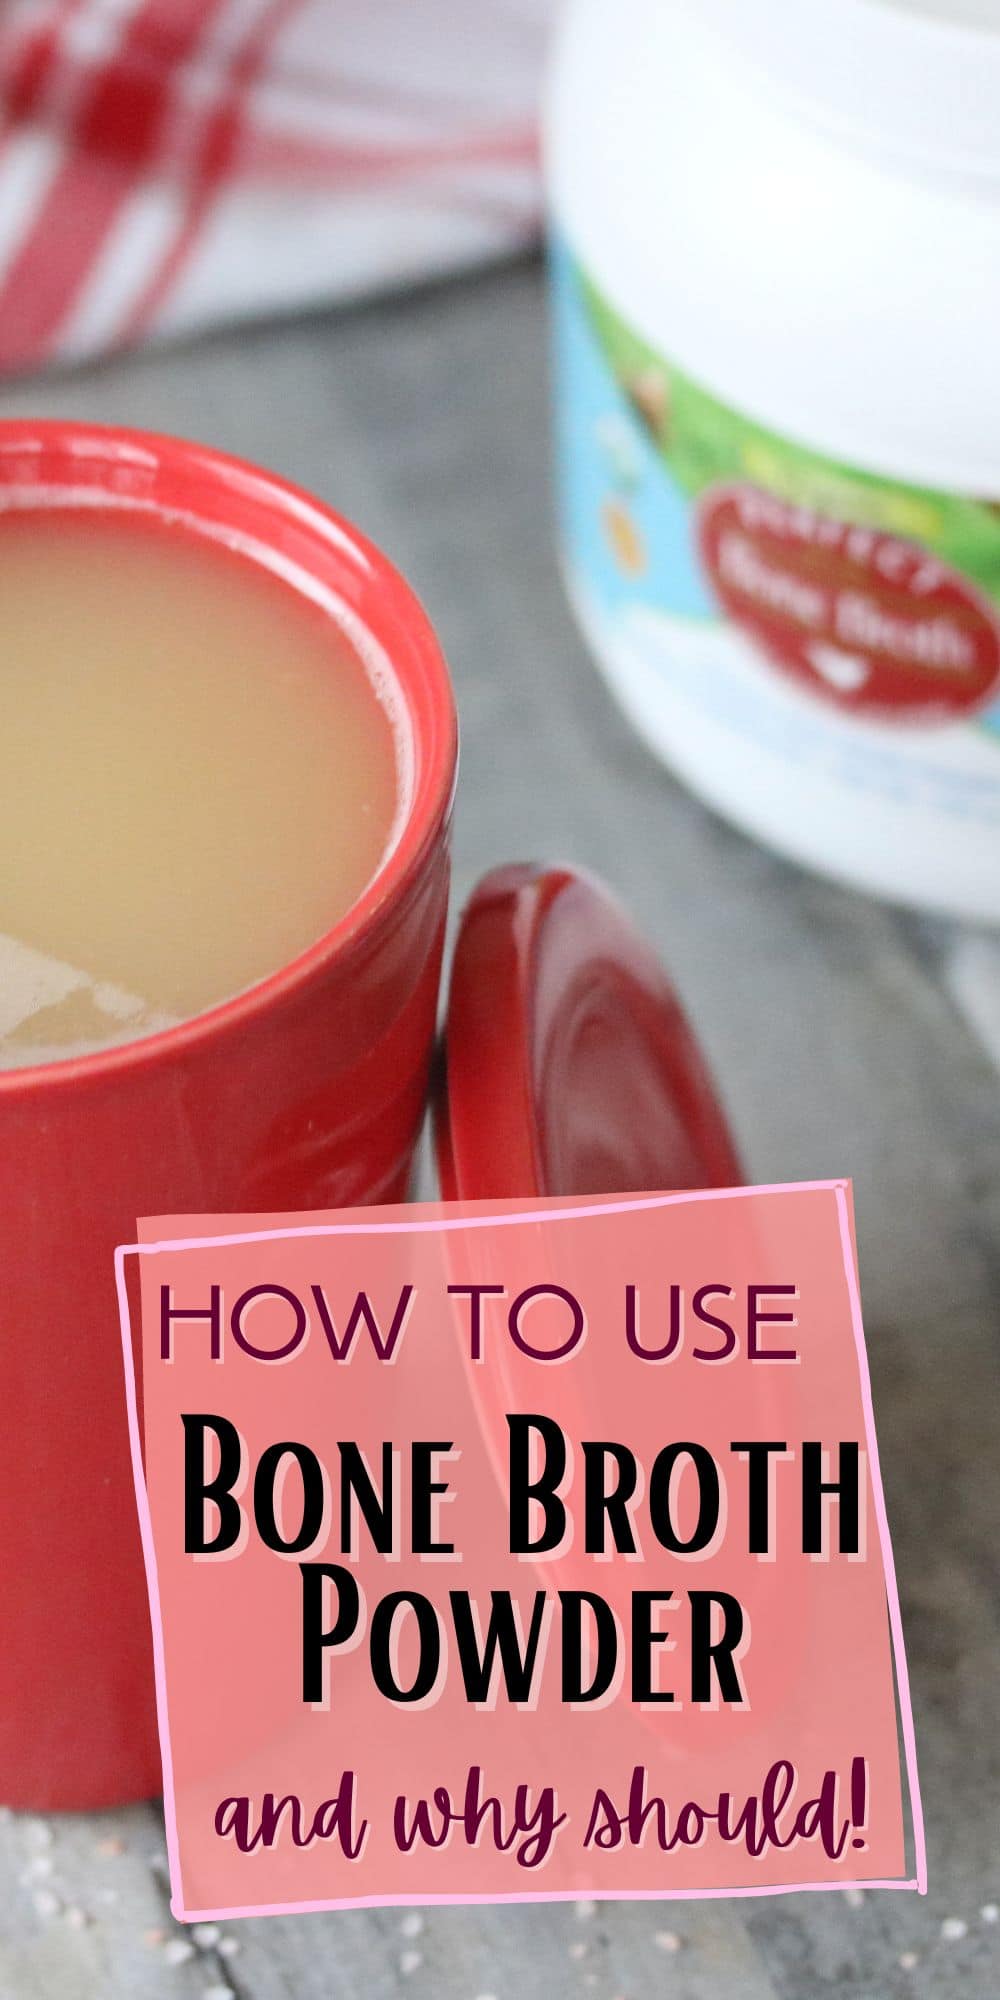
What Is Powdered Bone Broth? Everything You Need To Know
Extended Shelf Life: By freezing bone broth, you can extend its shelf life significantly. While fresh bone broth typically lasts for a few days in the refrigerator, frozen bone broth can stay good for several months.. Do not refreeze previously frozen bone broth, as it may affect the quality and taste. Now that your bone broth is thawed and.

Is BONE BROTH Good For You? Here Is the SHOCKING Truth! D. Steven
Step 3: Place the tray of the bone broth into the freezer. Let it sit for about 1-2 hours to freeze. Step 4: Once the broth is completely frozen, remove it from the freezer. Step 5: Transfer the broth cubes to the freezer bag. Step 6: Gently press on the bag to remove any excess air and seal the bag.